
How to Take Dahlia Cuttings (Step-by-Step Guide for Gardeners & Flower Farmers)
If you want to multiply your favourite dahlia varieties without buying more tubers, taking cuttings is one of the best ways to do it. Cuttings give you true copies of the parent plant — same colour, same growth habit — and with a little care you can produce dozens of new plants each year.
Below is a full, step-by-step guide you can use whether you’re a backyard gardener or growing flowers commercially.
Why Take Cuttings?
Taking cuttings lets you increase your stock of favourite dahlias without having to divide tubers. It’s especially handy if you want to:
Clone a favourite variety
Expand your cut flower production
Share plants with friends or florists
Cuttings are taken from shoots that sprout from tubers that were started in the winter; when done properly they root quickly and become full-size plants that bloom the same as dahlias grown from tubers.
What You’ll Need
Healthy dahlia tubers
Clean, sharp knife or pruning shears
Small pots or seed trays
Well-draining potting mix (add perlite or sand for drainage)
Rooting hormone (optional but helpful)
Clear plastic cover or propagator to keep humidity high
Labels and marker
Step-by-Step: How to Take Dahlia Cuttings
1. Get Your Tubers Growing Early
Pot up your stored dahlia tubers indoors in late winter or early spring so they break dormancy and begin to send up shoots. Set them somewhere warm and bright, shoots should appear in a couple of weeks. I keep mine on a grow shelf with 14 hours of light per day, in a room that is set at 21 degrees Celsius. It usually takes 10-15 days for the eyes to swell up and start pushing out a shoot.
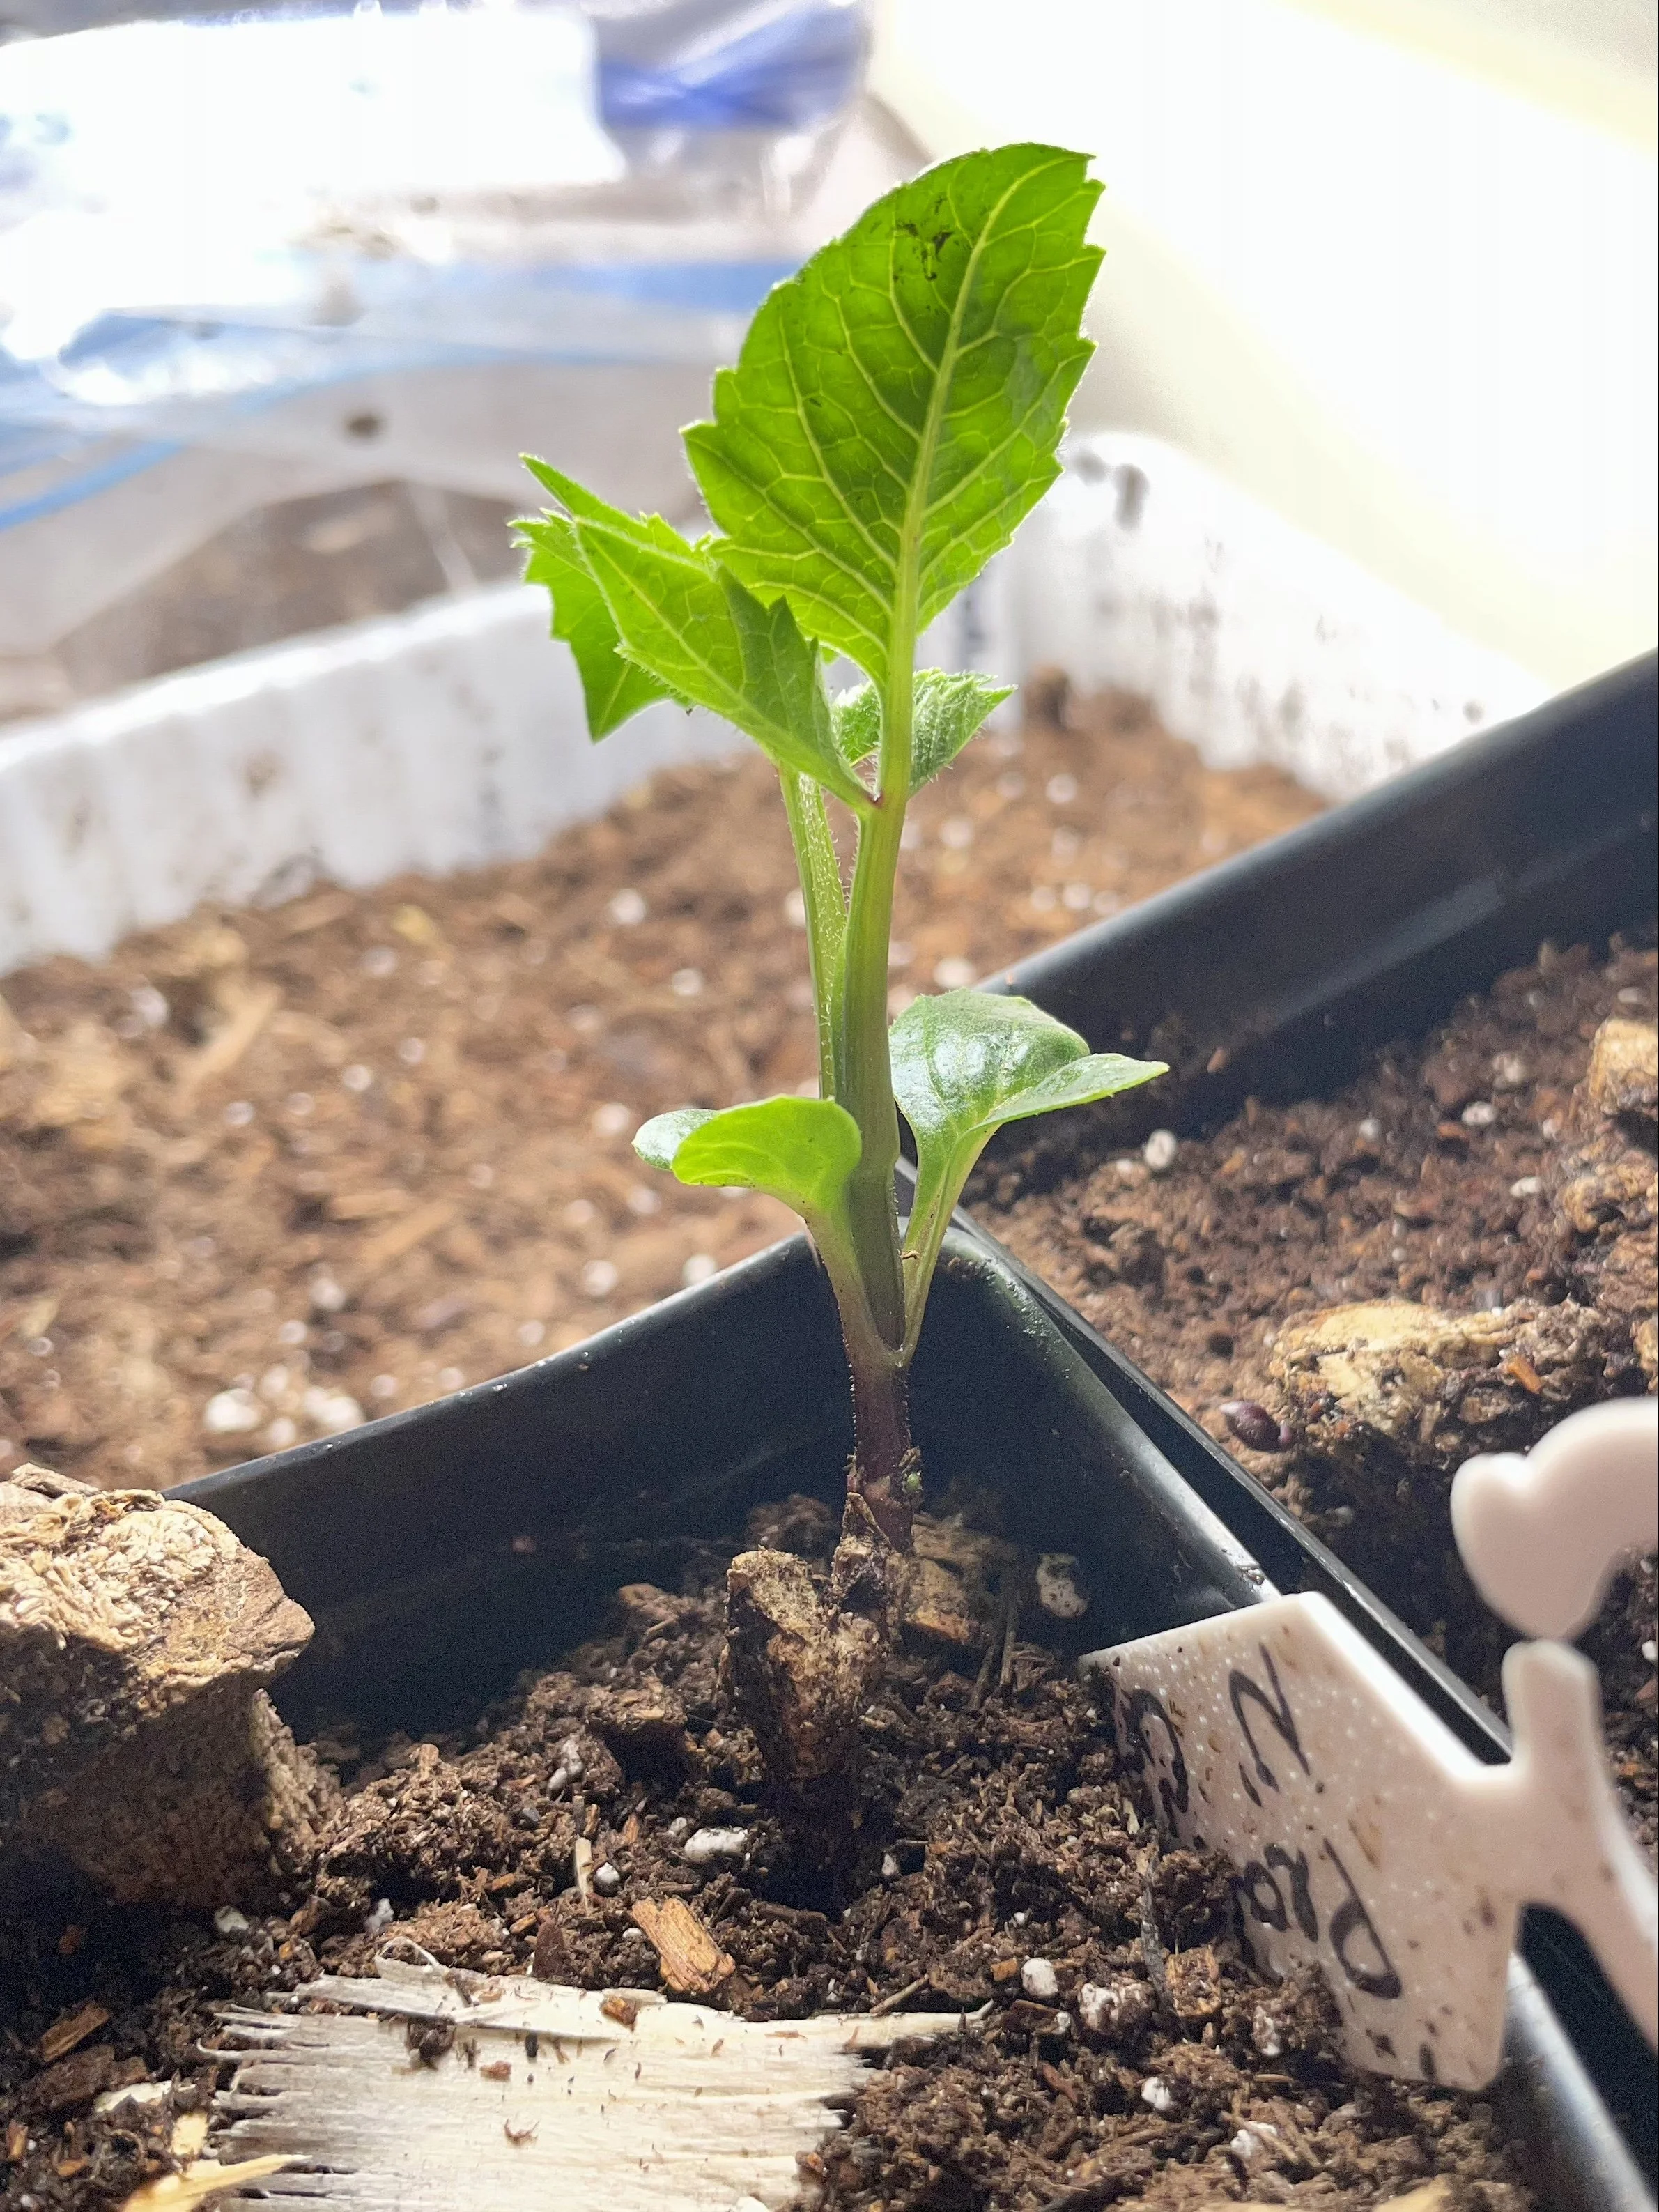
2. Choose the Right Shoots
Wait until the new shoots are about 7–10 cm (3–4 inches) tall with at least two pairs of leaves. These are the best candidates for cuttings because they’re vigorous and healthy.
3. Make the Cut
Using a clean, sharp knife or shears, cut the shoot off as close to the tuber as you can without damaging it. Some growers take a tiny sliver of the tuber (“heel”) with the cutting because it can help rooting, but it’s not essential. I prefer to cut right above the tuber head.
4. Prepare the Cutting
Remove the lower leaves so they won’t rot in the potting mix.
Leave 1–2 small leaves at the top to help the cutting photosynthesize.
If leaves are large, you can trim them in half to reduce water loss.
Optionally dip the base of the cutting in a rooting hormone to help roots form faster.
5. Pot Up the Cutting
Fill small pots or a 10x20 cell tray (what I do) with a moist, well-draining mix. If you have vermiculite around, you can make a half potting soil, half vermiculite mix. This will help the roots breath. Make a hole with a pencil or dibber, insert the cutting, and lightly firm the mix around it.
6. Keep Them Humid & Warm
Cover the pots with a clear plastic bag or propagator lid to maintain high humidity while they root. Humidity reduces water loss and helps the cuttings establish roots instead of drying out.
Then, place them on a heating mat and under grow lights. Again, they should have about 14 hours of light.
7. Wait for Roots to Develop
In 2–3 weeks you should see new growth, a sign that roots have formed. Once the cuttings are rooted and growing well, gradually remove the cover to harden them off before potting them up into 4” pots.
8. Planting out
When the last risk of frost has passed, harden off your cuttings to get them used to the sun and the outside temperatures. You can then transplant them. Remove the lower 1-2 sets of leaves and plant the cutting right up to the next set of leaves. These leaf nodes will turn into roots. More roots = more tubers!
Space your cuttings the same as tubers. I space mine at 12 inches between plants and 18 inches between rows. Water as needed. Do not plant cuttings in the same bed as tubers. Tubers should not get water until you see a shoot and they will be much later than cuttings.
Tips for Success
💧 Keep the mix moist but not soggy too much water can cause rot, too little slows rooting.
☀️ Bright light helps but avoid hot direct sun on delicate cuttings.
✍️ Label your pots especially if you’re taking cuttings from multiple varieties.
When to Take Cuttings
The best time is late winter into spring when tubers are just breaking dormancy and shoots are fresh. You can also take cuttings later in the season from actively growing plants, but early timing gives the best roots before outdoor planting.
Final Thoughts
Taking dahlia cuttings is an easy way to multiply your plants and expand your flower gardens for next season. With basic tools, a little patience, and the steps above, you can produce dozens of strong, new plants that carry the exact traits you love from your favourite dahlias.